Are you wondering exactly how to install a ceiling fan on your own? A ceiling fan is not that easy to install. However, with proper instructions and measures, any person can install it safely and effectively. In this guide, you will get various steps involved in the process of installing a ceiling fan, including the wiring, mounting, and balancing, such that you can have the benefits of a cool and comfortable house environment without any doubt.
Master the Breeze: Your Step-by-Step Guide to Ceiling Fan Installation
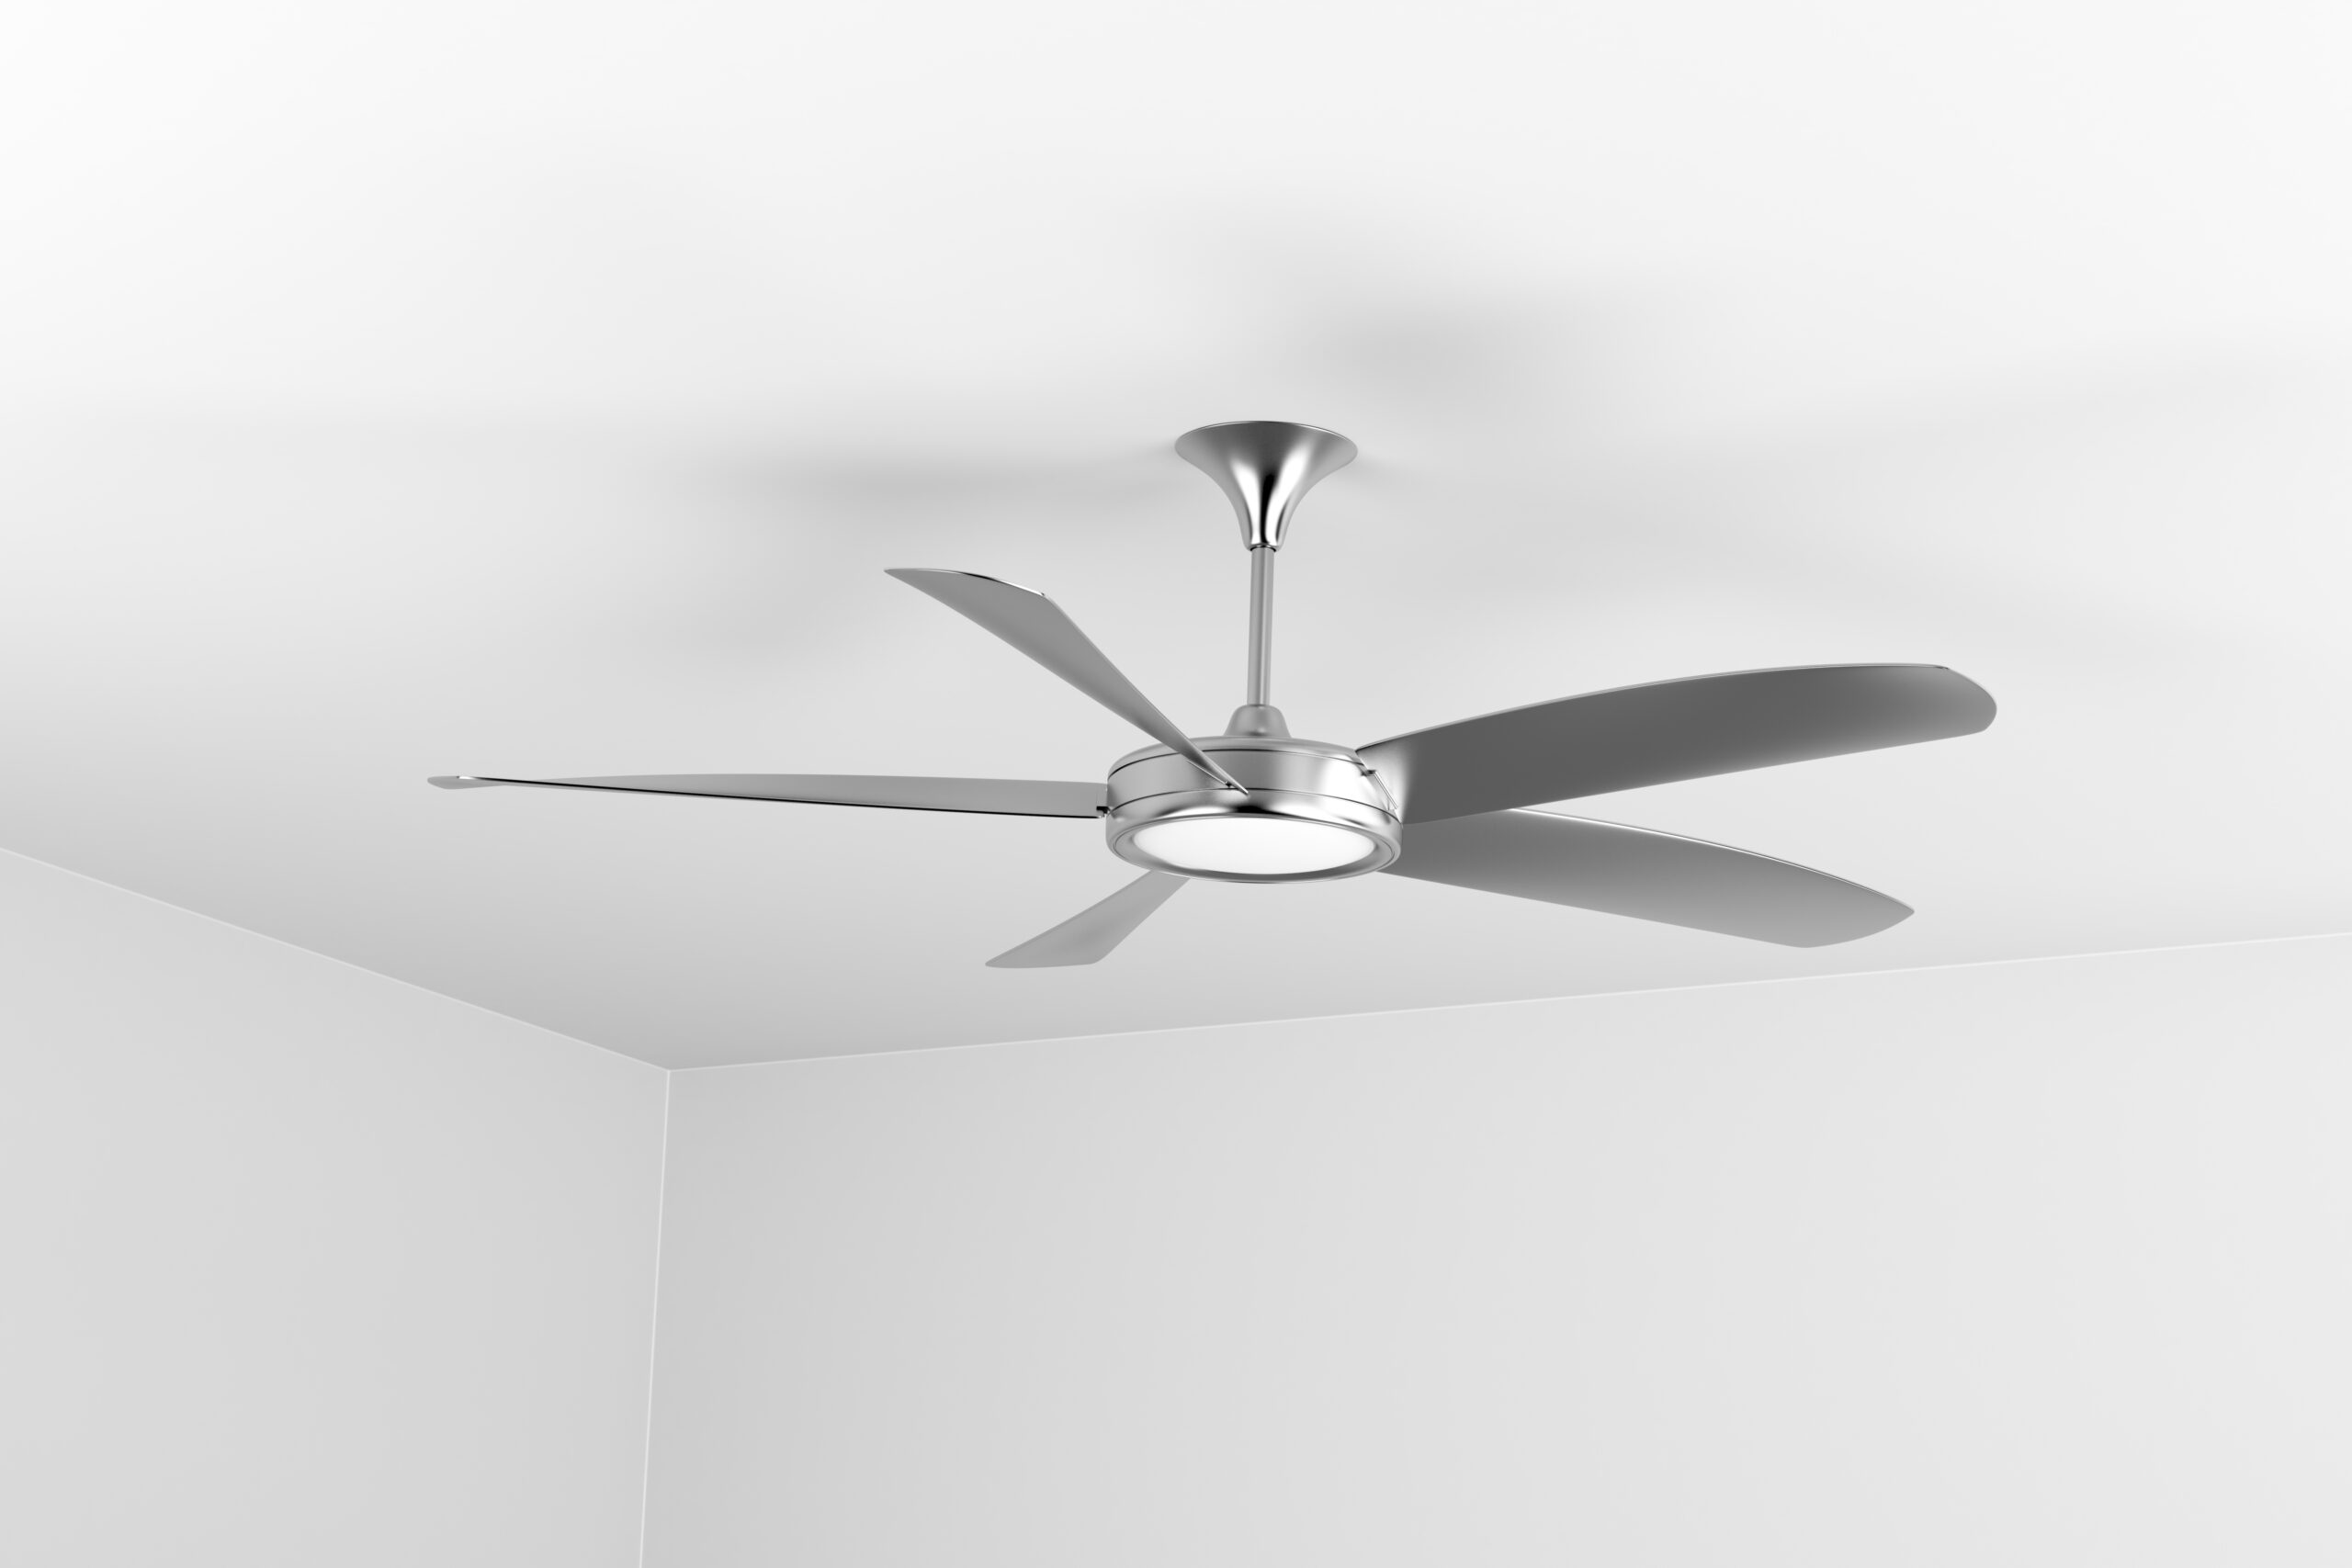
A ceiling fan is also a worthy addition to any room, and it is more comfortable and efficient in terms of energy. A properly installed fan does not just improve the air circulation, but also serves the purpose of keeping the home environment a pleasant place.
Let’s learn the step-by-step process of installing a ceiling fan:
Step 1: Turn Off the Power
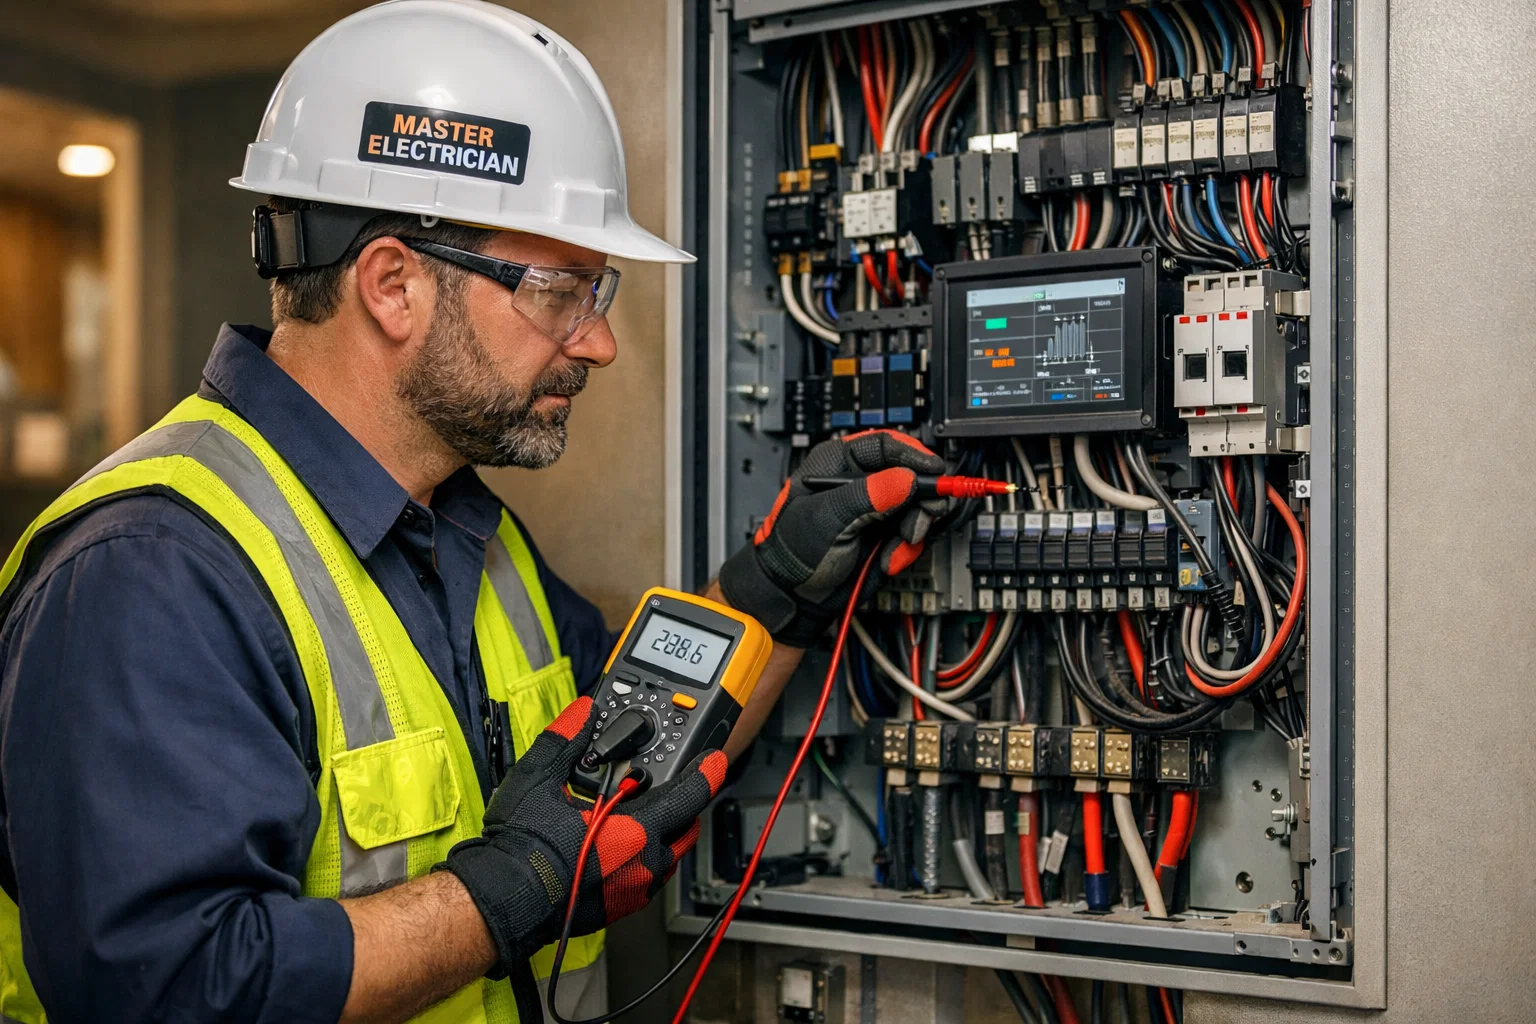
Safety must always be the first consumers! Switch off the circuit breaker of the room you are going to install the fan in. Switch on a convenient tester to cut off any electricity before getting down to work.
| Pro tip! Always use a voltage tester. |
Step 2: Preparation
In case you are replacing a light with a ceiling fan, then start by removing the old one. The second thing to do is to ensure that there is sufficient space to install safely and conveniently. Make sure of the following:
- The fan must be hanging at least 7 feet high above the floor.
- Must have a distance of 8-10 inches between the fan blades and the ceiling.
- Create a minimum distance of 10-20 inches between the fan blades and any other walls, doors, or furniture.
Step 3: Fitting of the Mounting Bracket.
Attach the mount bracket to the electrical box of your ceiling. Install the screws that are provided with them and screw them firmly. The mounting frame supports the entire fan, and, therefore, ensures that it is a good one that will not be moving about. At last, always screws in the fan kit and check the tightness for safety.
Step 4: Assemble the Fan
Start assembling your fan following the instructions in the manual. You will have to put the blades on the motor part, and when you have a downrod, prepare this, as well. The longer rods will assist in case you have a higher-than-usual ceiling.
| Expert advice! Tall ceilings should be contacted using a longer downrod. |
Step 5: Attach the Wires
Now, find the correct match of wires, and attach those of your fan to those of your ceiling. Color codes used in most homes:
- Black or red: that is the live wire.
- White: It is the neutral wire.
- Green/bare: that is the ground wire.
Wire nuts and tape are used to secure them. Safety requires a close interrelationship!
Step 6: Fasten the Fan to the Bracket
Lift the main part of the fan and connect it to the mounting bracket that you have already installed. It can be assisted by a friend who may find the fan to be heavy. When everything is fastened with the provided screws, the fan will be steady.
Step 7: Installing Blades
Make sure you have not yet inserted all the fan blades. Make sure that each blade fits in place and screw all the blades. Balanced blades are used to avoid rocking or noise during the running of the fan. Ensure that the heights of all the blades are the same.
Step 8: Mount the Light Fixture (where applicable)
Some fans come with lights. Connect the additional wires and then connect the light part according to your instruction manual. Fix the fixing and ensure that the parts are firmly fixed.
| Key takeaways! Carefully match extra wires. Make sure that the light is attached firmly. |
Step 9: Reopen the power
Take the breaker switch back to put the power back on. Test your light (including fan). When you hear strange things or notice wobbling, then switch it off and repair the problem before usage. Relax in your luxurious, comfortable room!
| Must Checks! |
Conclusion
To conclude, knowing how to install a ceiling fan helps homeowners to make smart upgrades at the same time, improving comfort and efficiency in their homes. With the help of this guide, you will learn that the process of how to install a ceiling fan is not only possible but also satisfying. You need to improve airflow or renew your decor using safe and proper installation, which is the secret to long performance. Do not be afraid to consult a professional.
FAQs
Can I install a ceiling fan myself?
Yes, most homeowners can install a ceiling fan by following safety steps and the manual.
What tools are needed for installation?
Common tools include a screwdriver, ladder, voltage tester, and wire nuts.
Can I add a light to my ceiling fan?
Yes, many ceiling fans come with an option to add an integrated light kit.